Blog
How to set your mastering limiter: The 5 steps
Every mix needs an individual master chain, including unique mastering limiter settings. So here’s everything you need to know to set one up.
What is a mastering limiter?
Without going into too much detail on the precise inner workings of how limiters work, in simple terms, a mastering limiter is an audio processor that is designed to prevent the loudest parts of your audio from going over a certain threshold. In other words, it limits the maximum level of your audio signal.
The main purpose of a mastering limiter is to avoid clipping and distortion, which can occur when the levels get over -0dB. So simply put, a limiter lets you push your audio levels up while at the same time lowering everything that goes over -0dB for a louder, non-distorted final master.
1. Preparation before using the limiter.
The mastering limiter should be the last effect on your processing chain. So the rest of your mastering chain should ideally be set beforehand, and the song should already be thoroughly mixed.
Going back and completely changing your mix or tweaking your master chain will affect how your final limiter sounds. So only small changes should be made after limiting. Ideally, everything significant should already be dealt with.
2. Ceiling or Output
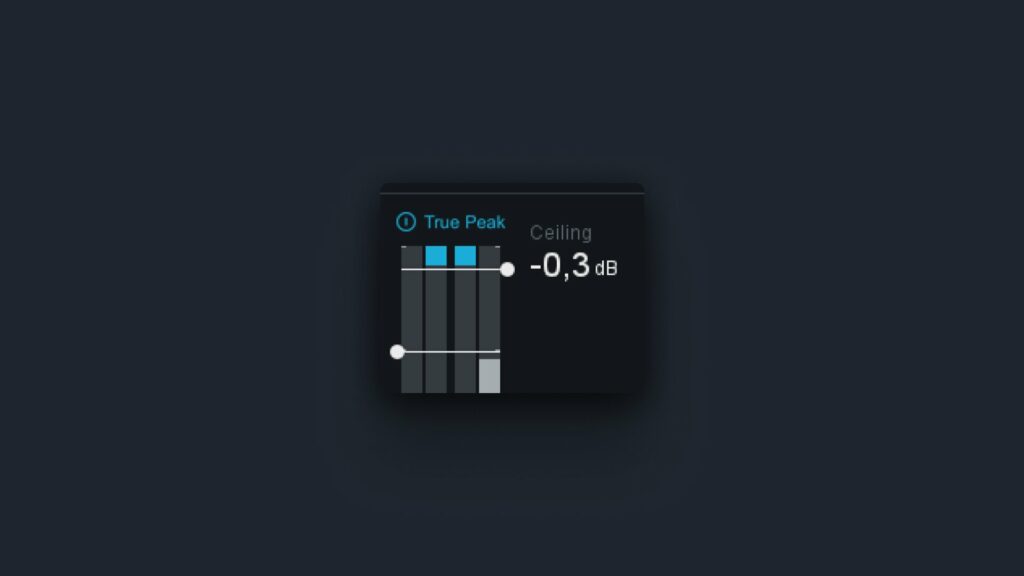
On some limiters, this setting is referred to as the “ceiling,” and on others, it’s labeled “output.” It essentially controls the final output level after the mastering limiter has done its job. In theory, this should be set to -0dB since that’s the whole point of a mastering limiter—pushing the volume up to get the mix loud without going over -0dB to prevent clipping.
However, there are these things called inter-sample peaks. Simply put, even though you’re capping your output at exactly -0dB, constantly pushing your signal to that level can introduce small unwanted peaks. That’s why many limiters have their “ceiling/output” set to -0.3dB to leave some small wiggle room. Some limiters even do it without letting you know, so the plugin might say the ceiling is at -0dB when it’s actually at -0.3dB (like FL Studio’s Fruity Limiter, for example).
Even though this is not an absolute must, it doesn’t hurt to be safe. So if it’s not set already, lowering the final mastering limiter output to -0.3dB is always a great idea.
Streaming Platforms Ceiling/Output
If you’re mastering your song and want to get it ready for streaming platforms, you should export different versions of your songs for each platform. This is because every streaming platform recommends you upload your final master at a particular output level.
So for Spotify, that would be -1dB and Apple Music -1dB. Again, this is not a must but is generally recommended. It will avoid the slight distortion that can otherwise be present when these platforms convert your song to different formats.
3. Attack & Release
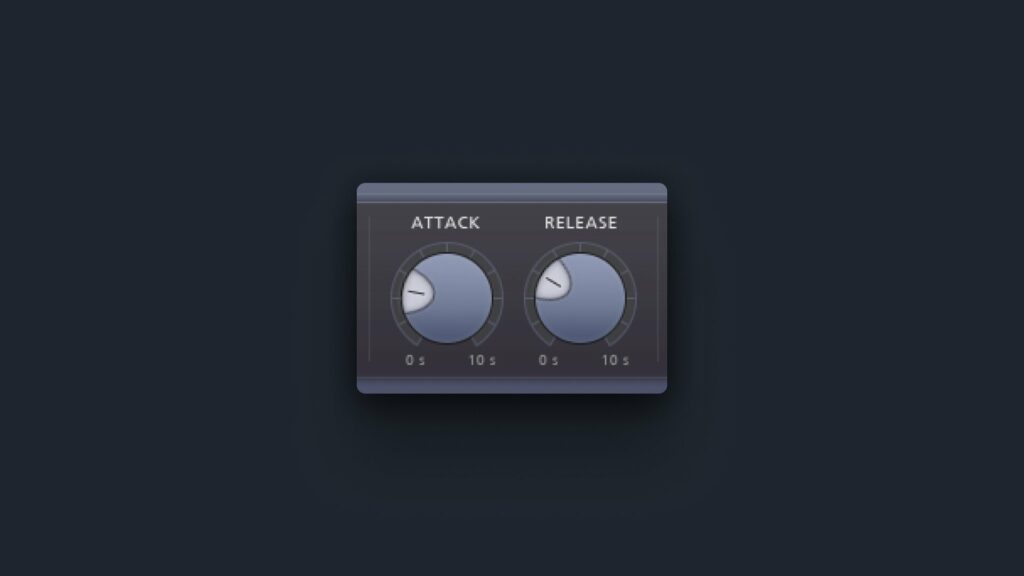
Some limiters will let you change the attack and release envelopes to let the mastering limiter better suit your distinct mix. These two parameters essentially work the same as in a compressor. So the attack will determine how quickly the mastering limiter should start working, and the release sets the time the limiter will take to return back to 0.
Note that every limiter is different. Some don’t even have attack and release parameters, while some only have a release parameter.
Attack
For attack, you generally want it as fast as possible. The right attack setting really depends on your mix, the genre of the song, and what sound you’re going for. So try raising your gain level purposely high to push the mastering limiter, put a busy section of your mix on repeat, and slowly lower the attack until you feel like it sounds clear enough.
A low attack will always sound the cleanest, so there is no limiting distortion, but it will significantly weaken your transients. On the other hand, a slow attack will always sound distorted, but keep your transient sharp and snappy. So it’s all about finding that sweet spot in the middle that works on your particular track.
Release
Similar to attack, your limiters release has pros and cons on both sides. So setting your release too fast will cause weird pumping effects and introduce distortion. On the other hand, putting the release too slow will greatly reduce the dynamics of your track and decrease the amount of loudness your mastering limiter can add.
So again, finding the sweet spot somewhere in the middle is recommended. Since every mix is different, there isn’t a perfect release value. Instead, try pushing your limiter to the max again and slowly lower the release to a faster and faster setting until it sounds clear enough with no weird distortion or pumping effects.
Lookahead
Some limiters come with a feature called lookahead. Lookahead is a delay that the mastering limiter applies to the audio signal before it starts limiting. This delay gives the limiter time to detect and react to any potential loud peaks before they happen. This way, the mastering limiter can better prevent clipping and distortion.
In general, you want to have lookahead enabled. However, some limiters don’t sound as good with it, so ultimately, it’s up to you to experiment and see what sounds best for your mix.
Try not to add too much lookahead since you’re giving up loudness in return for a cleaner sound. So for louder genres like EDM, you ideally want no lookahead or just a 1ms lookahead.
4. Oversampling
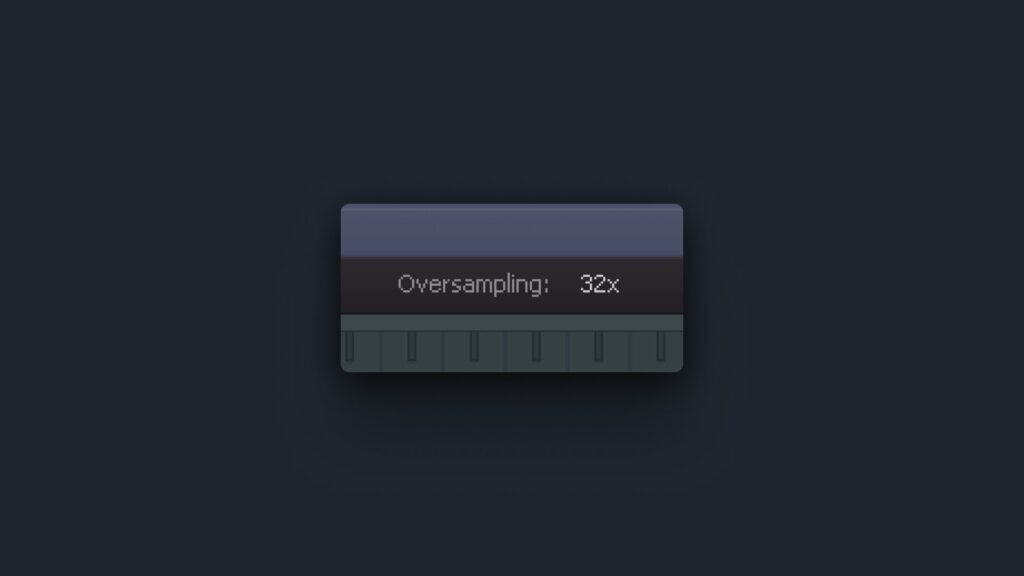
Without getting too much into what oversampling is, if your mastering limiter has it, you should definitely use it. Oversampling helps to reduce any distortion that might be introduced by the limiter. It does this by sampling the audio signal at a higher rate than the output rate.
However, oversampling is very heavy on your CPU. If you enable it, you’ll notice your CPU usage will skyrocket. So if you don’t have a powerful computer, leave oversampling off while mastering and only set it to the max setting right before you’re ready to export your track.
So the only thing you should know about oversampling is: if it’s there, use it.
5. Gain or Threshold
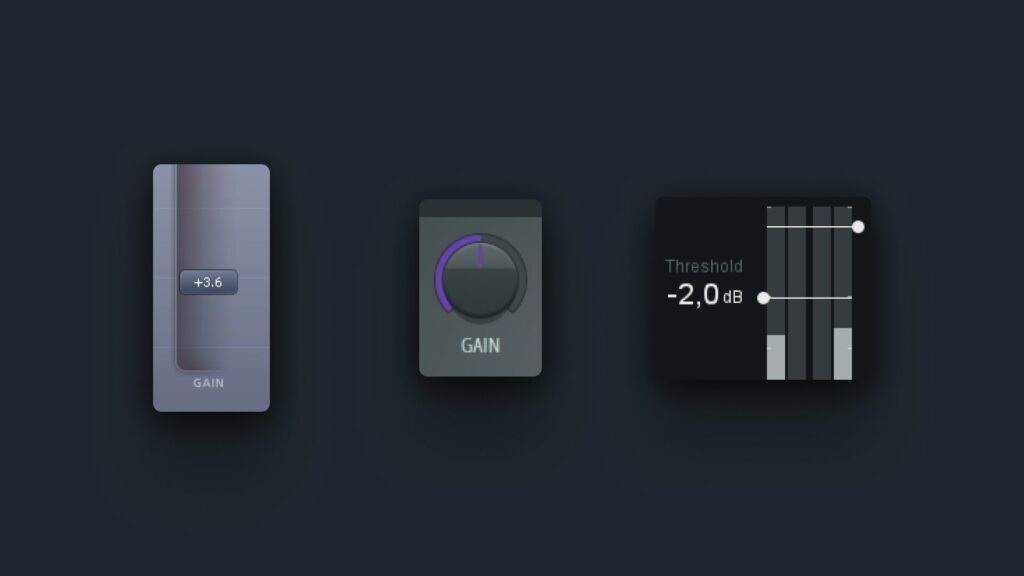
Again, depending on what mastering limiter you use, this setting is often either called gain or threshold. It determines the amount of volume you’re adding. This is usually measured in dB and is where you set the limiter to start working. The higher the threshold, the more volume the limiter will add.
To set the perfect gain/threshold for your final master, you want to do the following. First, loop the busiest section of your track (often the drop), and play it on repeat. Next, raise the gain/threshold slowly until you hear the first noticeable distortion artifacts introduced by the limiter. That’s where you want to stop increasing the gain and slowly back off with it by probably 0.5db to 1dB until the distortion artifacts are gone again.
In the best-case scenario, you’ve found the optimal gain setting and reached the loudest possible volume for your track. However, if you’re not fully satisfied with your final gain value, try adjusting attack and release times again to possibly get one or two extra dBs of gain out of your limiter.
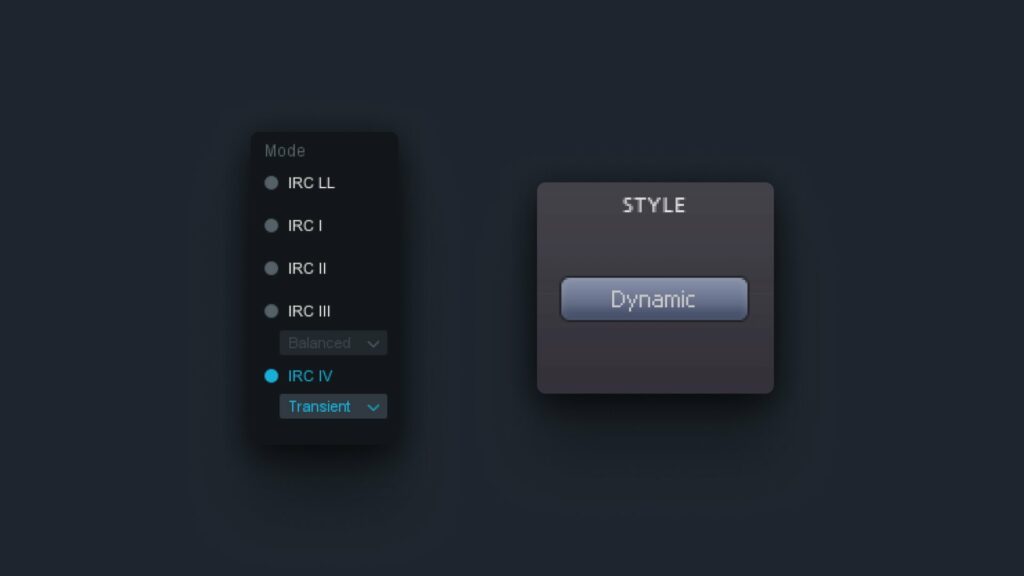
Bonus: Styles or Modes
Some limiters also have different limiting modes, which significantly affect how the limiter works and sounds. If your limiter has different styles or modes, go through the manual and find out what they do. These can greatly benefit how much loudness you can get out of your limiter.
If you don’t want to give these too much thought, just play around with them instead. Find a mode that simply sounds the best to you or best describes the sound you’re trying to achieve.
Final tips.
Finally, you should remember that there’s no such thing as a perfect limiter setting. Every limiter needs to be adjusted and formed around each mix.
A limiter is not magic and can only be pushed so far. The muddier and cluttered your mix, the less loudness you’re going to be able to push out of your limiter.
Also, the cleanest your mix will get is without a limiter. Although you want your mix to sound clean, you also want it loud (in most genres), so in the end, it’s about finding that sweet spot again.
“Limiting is just about how much loudness in return for distortion you can add without the listener noticing.“